How to Build Your Own PC
Follow these steps to assemble your custom PC!
Click on the pictures or text to get more information about the parts!
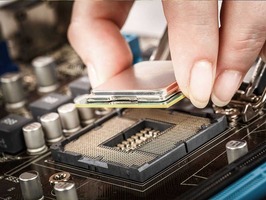
Step 1: Install the CPU
The CPU (Central Processing Unit) is the brain of your computer. Ensure you handle it carefully by holding it by the edges. Align the CPU with the socket on your motherboard and gently place it in place.
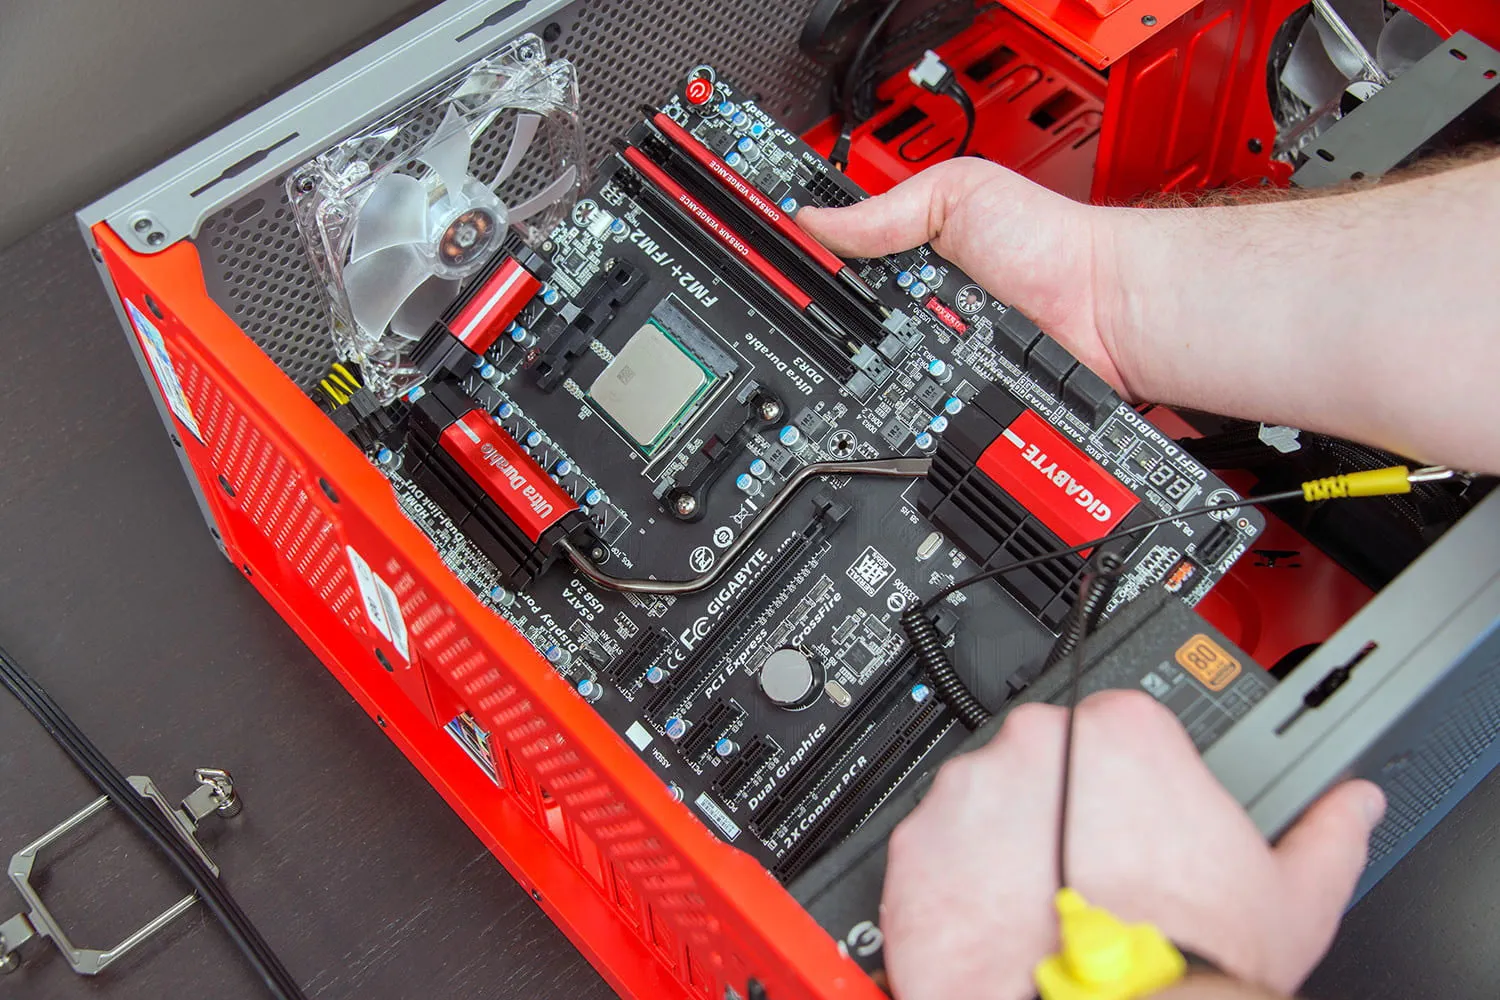
Step 2: Prepare the Motherboard
The motherboard serves as the central hub for connecting all components. Make sure to install the CPU, RAM, and cooler before placing it inside the case.
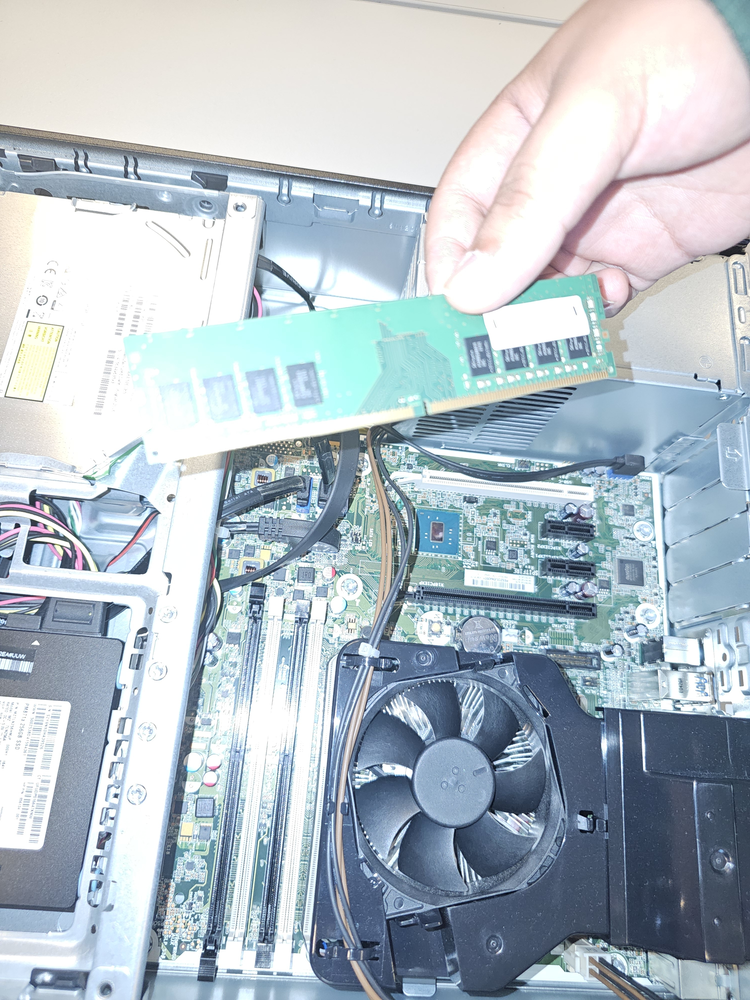
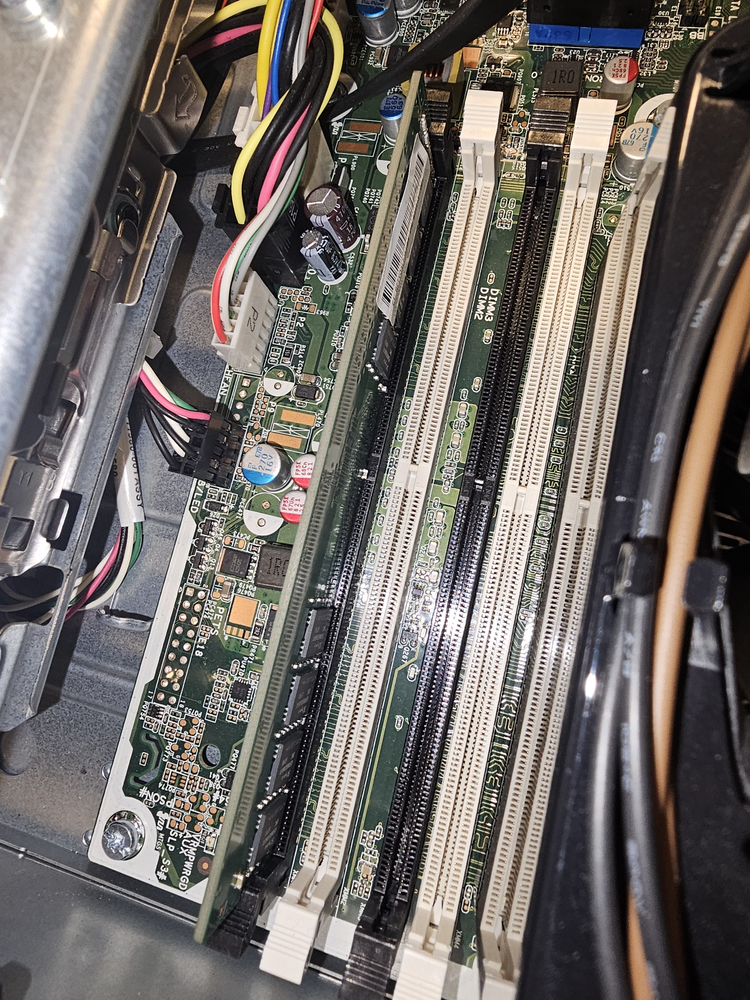
Step 3: Install the RAM
RAM (Random Access Memory) provides temporary data storage for quick access. The ram has a gap at around 40% of the part. Make sure You insert it the correct way to avoid breaking it. Push the RAM sticks into the motherboard's slots until you hear a click.
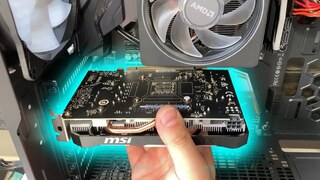
Step 4: Install the GPU
The GPU (Graphics Processing Unit) handles rendering images and video. Install it into the PCIe slot on the motherboard and secure it with screws.
.webp)
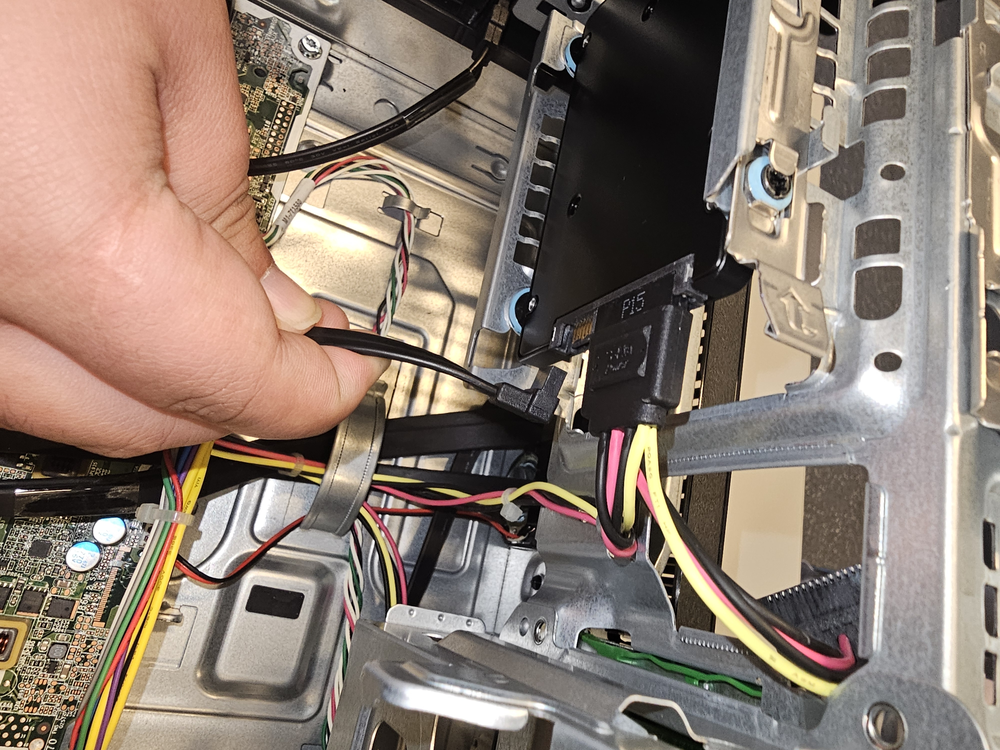
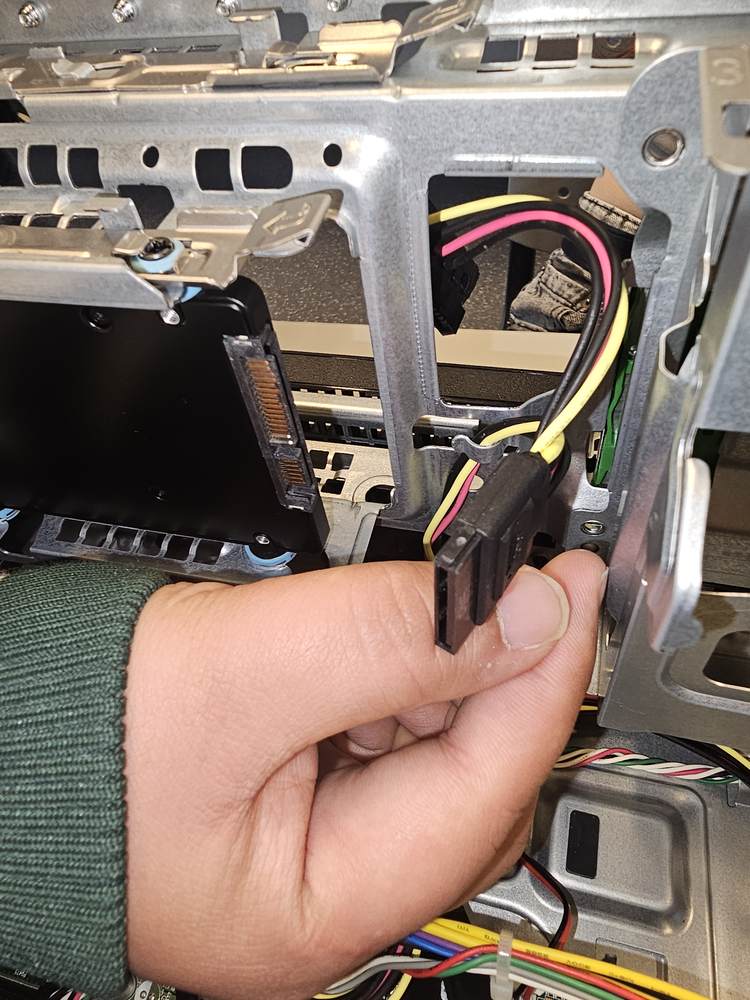
Step 5: Install Storage
Storage devices like SSDs and HDDs hold your operating system, applications, and data. Connect them to the motherboard via SATA or M.2 slots.
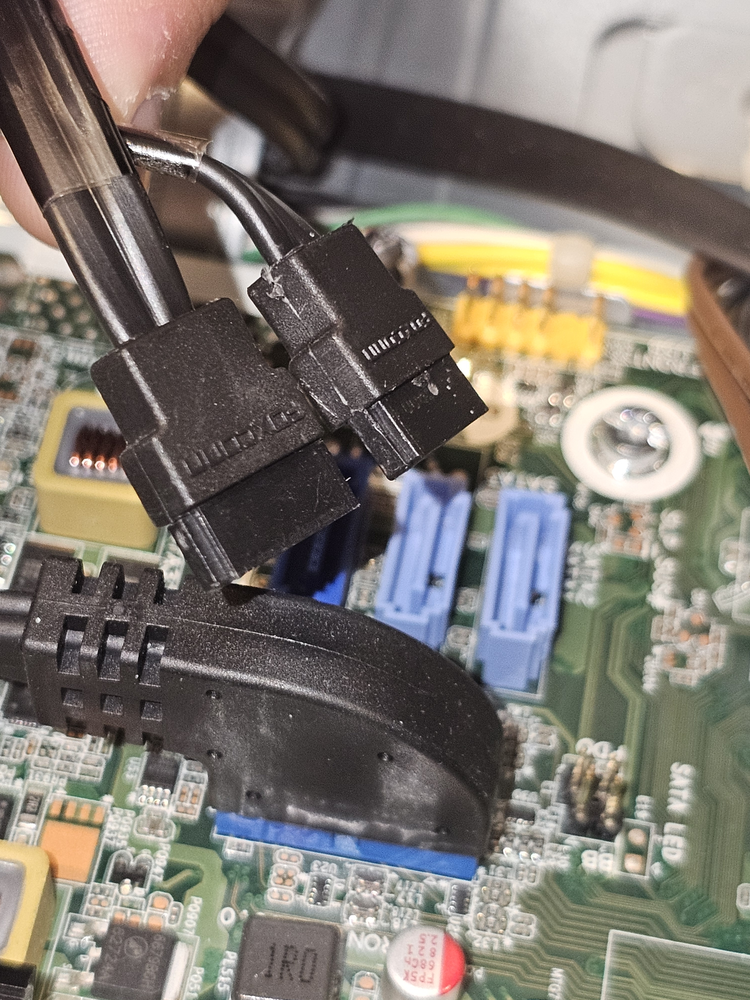

Step 6: Install the Power Supply
The power supply provides power to all your components. Ensure it is securely fastened in the case and connect all necessary cables.


Step 7: Assemble Everything in the Case
Once all components are installed, place everything inside the case, connect cables, and ensure proper cable management for airflow.